User Settings
Introduction To Users
Go To Settings/Users
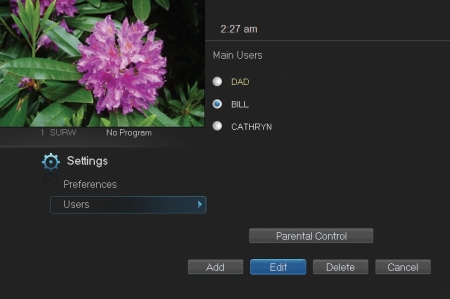
Press MENU and highlight Settings. Then enter your password, highlight OK and press OK. There are two main sections of Settings: Preferences and Users. In this article, we will be going over Users.
 |
User accounts allows you to have separate parental controls, purchase limits and themes for different family members. Users Settings allows you to add a user account, edit an existing user account, change parental controls for a user account, or delete a user account. |
NOTE: The master account in the first account listed and is shown in yellow rather than white. You cannot delete the master account and cannot change the login name for the master account.
Sign Out / Sign In
This function is typically used if there is more than one user account, usually when a parent adds a child as a new user. The parent's account (master account) controls the child's account (sub account).
This function is typically used if there is more than one user account, usually when a parent adds a child as a new user. The parent's account (master account) controls the child's account (sub account).
Log In
First, you check the Require Log In box on the master account Settings/Preferences screen. This ensures that the additional users or sub accounts must log in to watch programs. When a new user signs in, parental controls and other set restrictions for that account will be imposed.
Go To Sign Out / Sign In

Press the MENU button on the remote. Scroll the menu bar to the Sign Out icon and click OK.
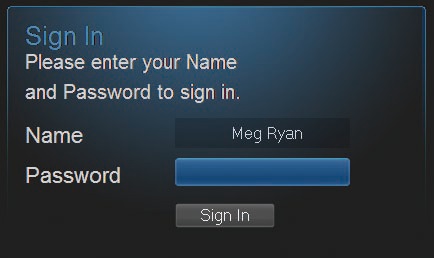 |
You will then be signed out of your account, and the Sign In screen will appear. Highlight the Name entry box and press OK. User the Up/Down arrows to select the name for the desired account. Then highlight the Password entry box and enter the password used for the desired account, highlight Sign In and press OK. |
Parental Controls
Go To Parental Controls
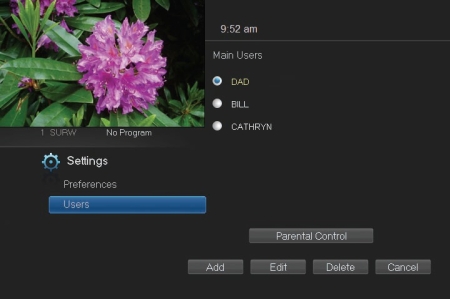
To change the parental controls for an account, highlight that account and press OK. Then highlight Parental Controls and press OK.
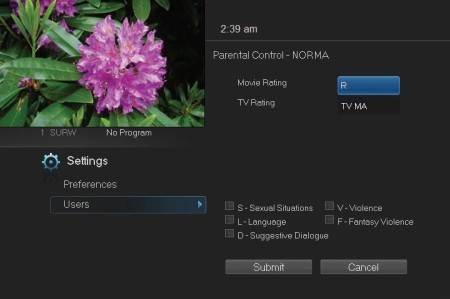
Parental Controls
 |
Parental Controls allows you to set ratings restrictions for each user. |
Movie Rating
Movie Rating determines the highest rating for movies that will not be blocked.
| To set Movie Rating, highlight the option box next to Movie Rating and press OK. Use the Arrow Keys to cycle through available ratings, then press OK. |
TV Rating
TV Rating determines the highest rating for television that will not be blocked.
| To set TV Rating, highlight the option box next to TV Rating and press OK. Use the Arrow Keys to cycle through available ratings, then press OK. |
Unlock Timeout (Only Available on Master Account)
Unlock Timeout determines how long parental controls will remain disabled when turned off from the Main Menu.
|
||||||
|
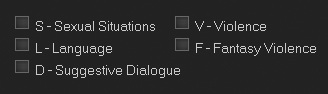
To block a particular type of content, highlight the check box to the left of that item and press OK.
Save or Discard Parental Control Preferences
Once you have changed any Parental Control Settings, highlight Submit and press OK.
To discard your changes, highlight Cancel and press OK.
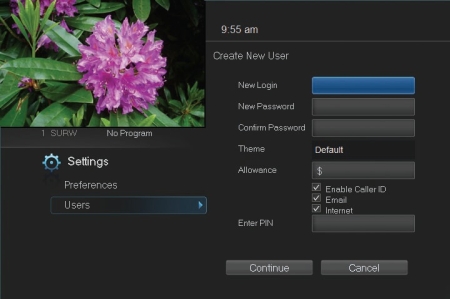
Add A New User Account
|
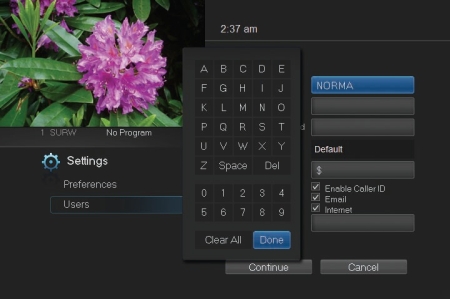
||||||||||
|
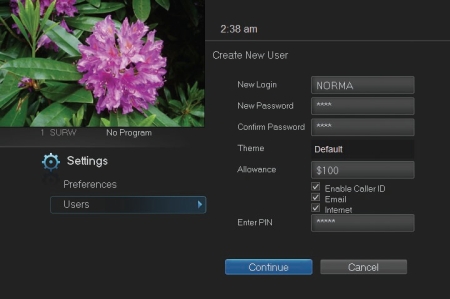
||||||||||
|


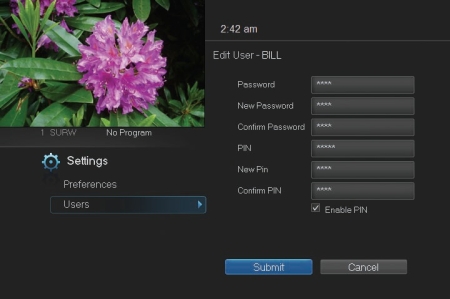
Edit A User Account
|
||||||||||||
|