Windows Mail - E-mail Setup
Windows Mail - E-mail Setup
DISCLAIMER: These guides are intended for anyone to use. However, technical support is only provided to customers who have Nex-Tech services.
In Windows 8/10 you will have a default mail client called Mail. You can setup your Nex-Tech email in this client but you will not be able to use the POP account settings. If you wish to continue to use Outlook, Window Live Mail, or your own 3rd party client, you can continue to do so with the POP settings. However, we have enabled IMAP settings that will allow Windows 8 Mail or other clients to work. If you have any additional devices or clients that access your account, you will also want to change the account settings to IMAP to prevent issues with sending and receiving.
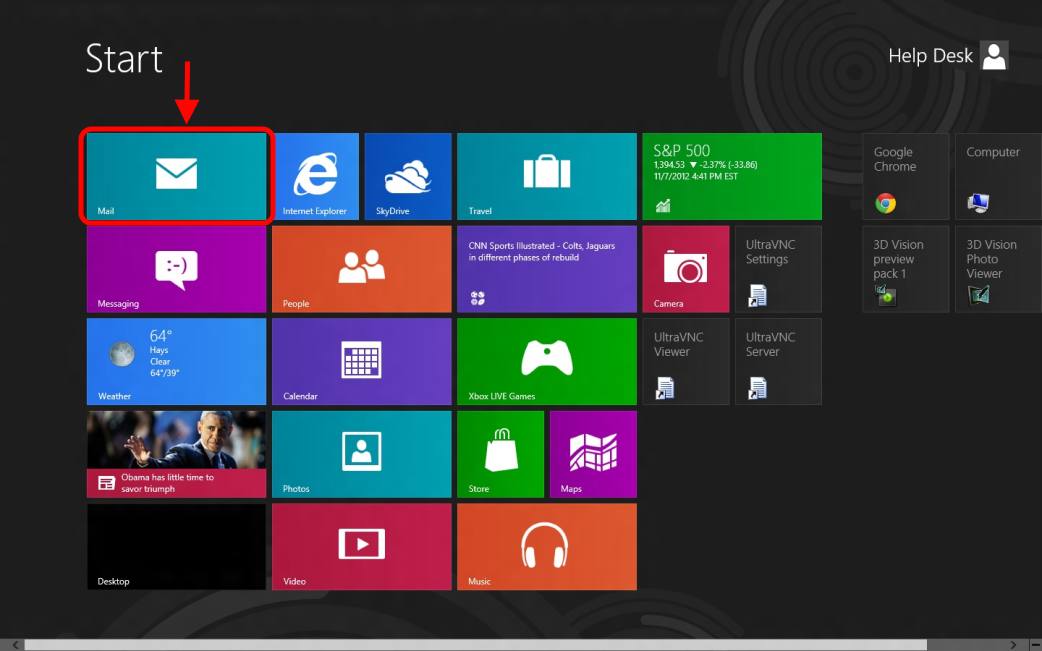
- To begin you will need to press the Start/Windows button on your keyboard. You should then see Mail as highlighted below, then click on Mail. If you do not see Mail, please begin by typing Mail on your keyboard, and then click on Mail.
- If this is your first time using Mail, you will need to login with a Windows Live account to start. Once you have created a Windows Live account, please fill out the account information here, and then click on Sign in. (Note: Nex-Tech will not be able to assist in creating or providing username and password information to a Windows Live account.)

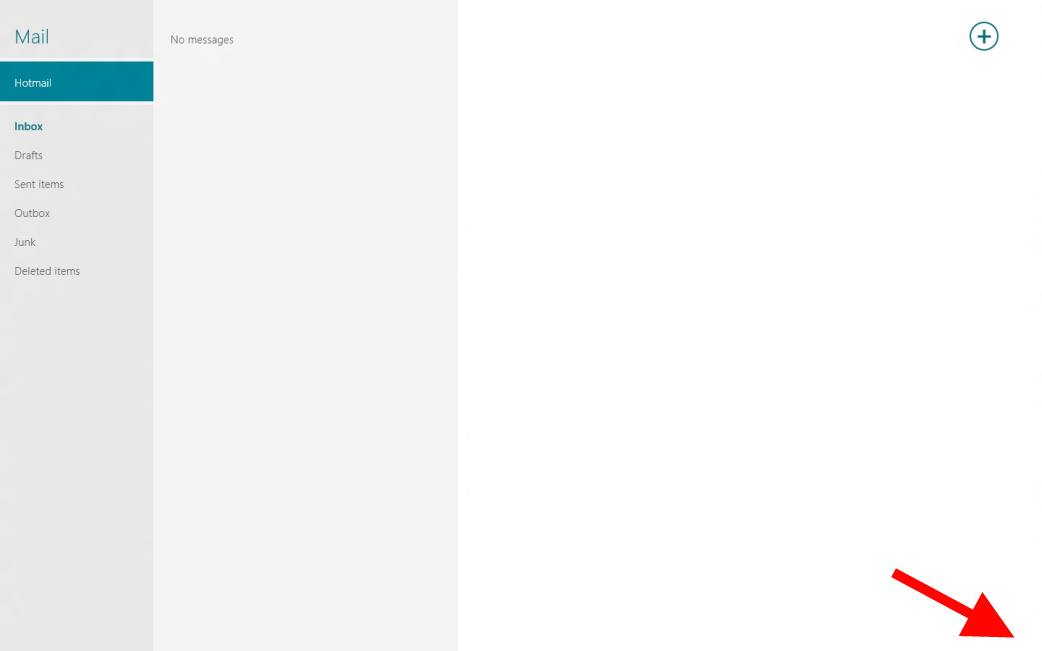
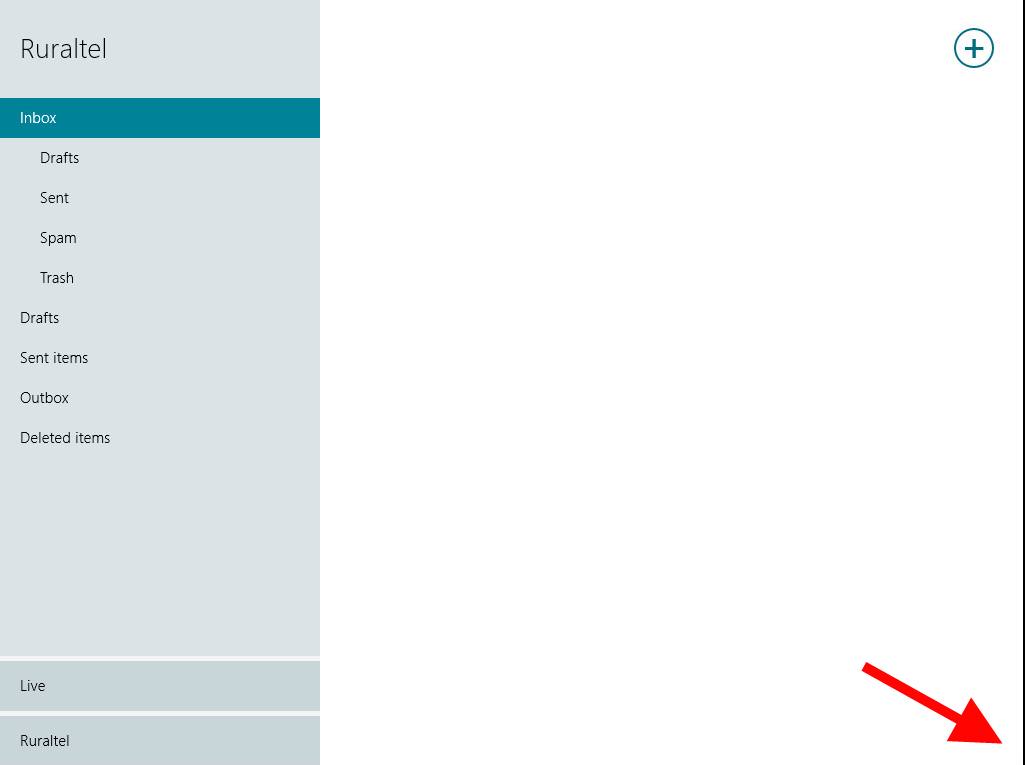
- Once you have signed in to your Windows Live account, you will then be taken to the Mail client home screen. To add your Nex-Tech account, you will need to move your courser to the right hand side to access the Settings charm as shown below.
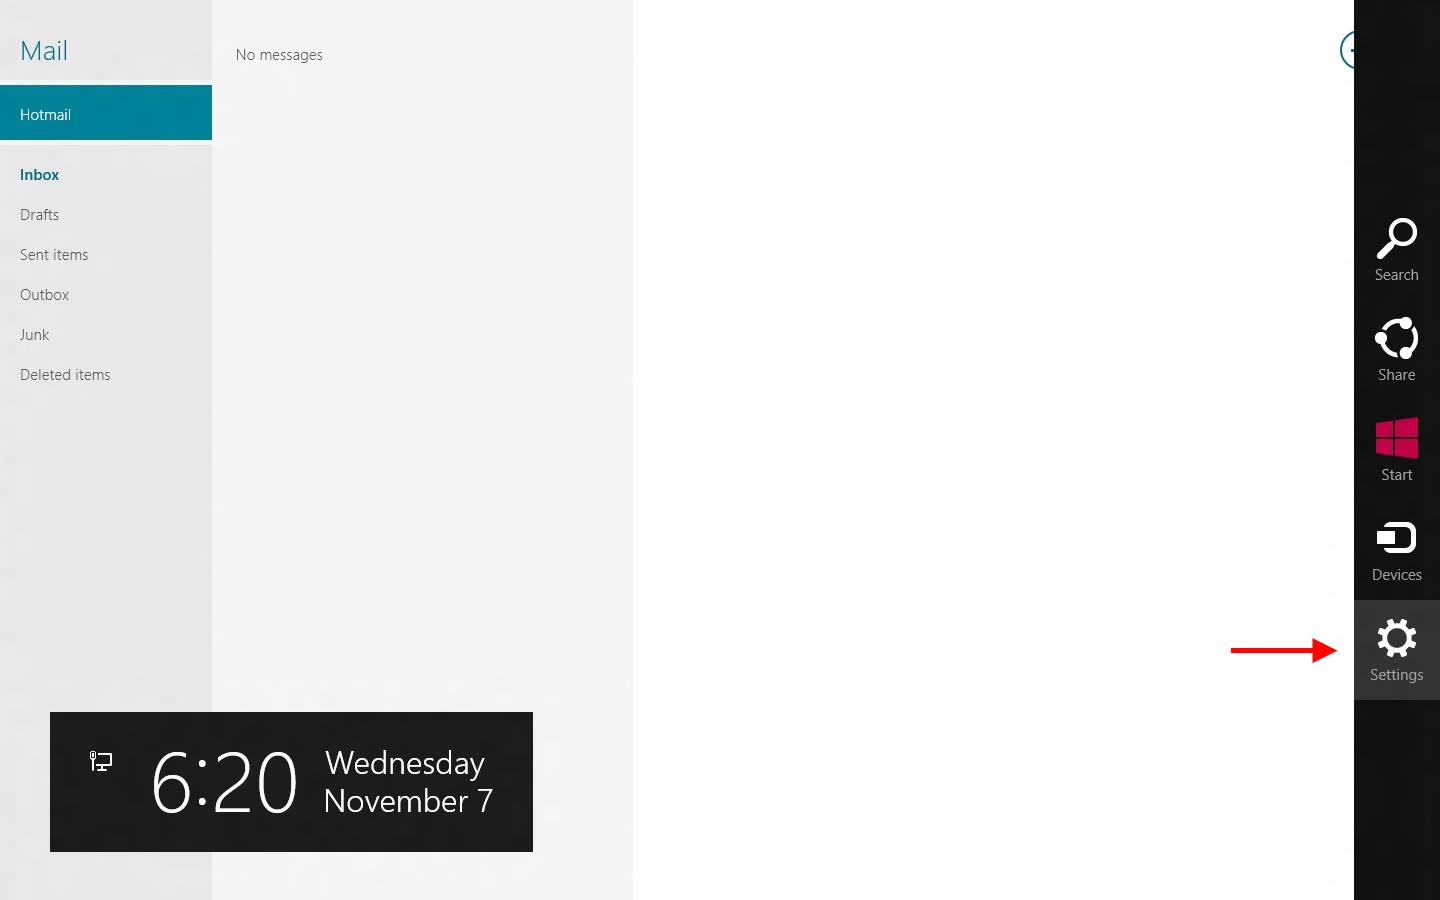
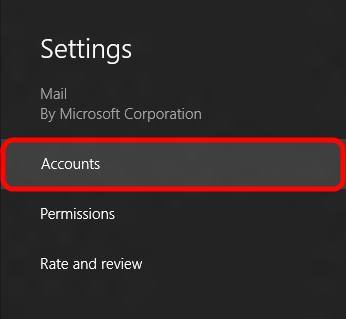
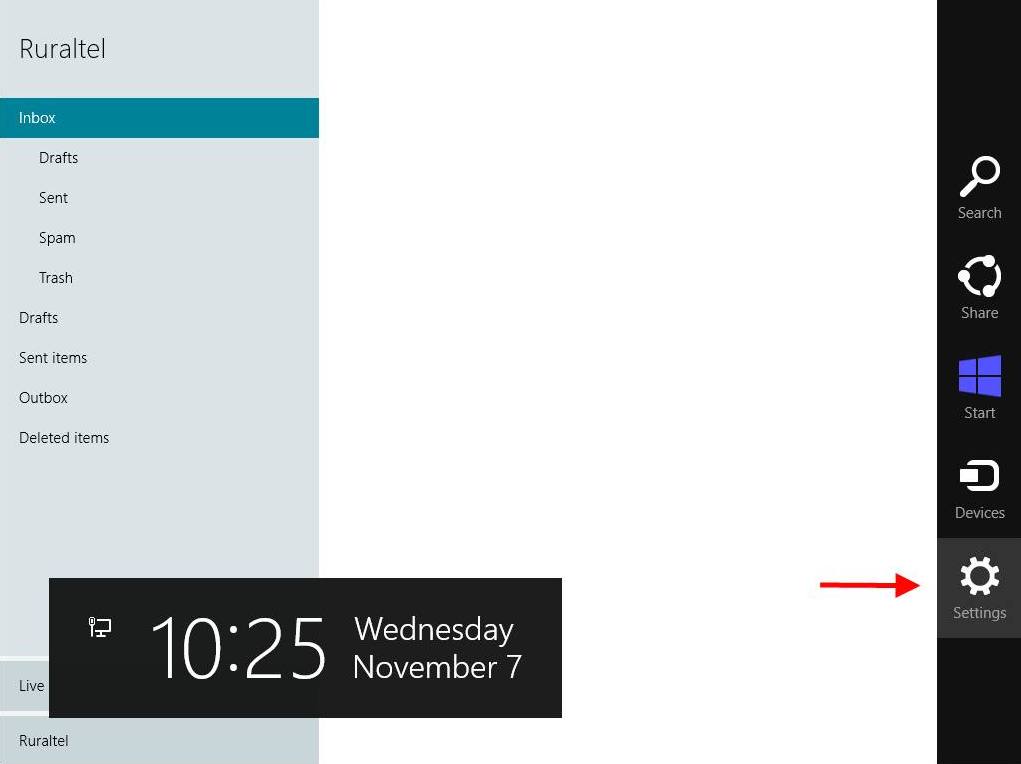
- In the Settings charm you will need to select Settings.
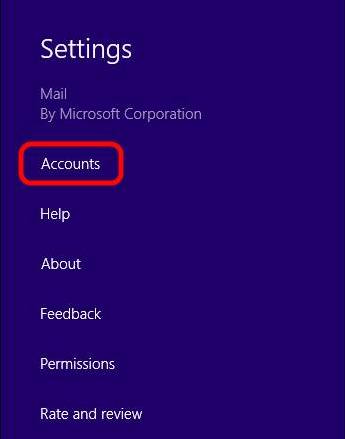
- In Settings on the right hand side, click on Accounts.
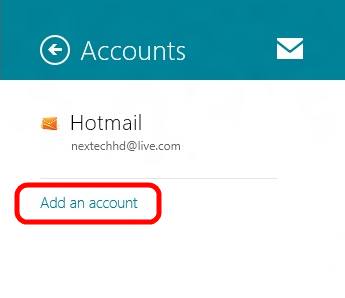
- In Accounts, click on Add an account.
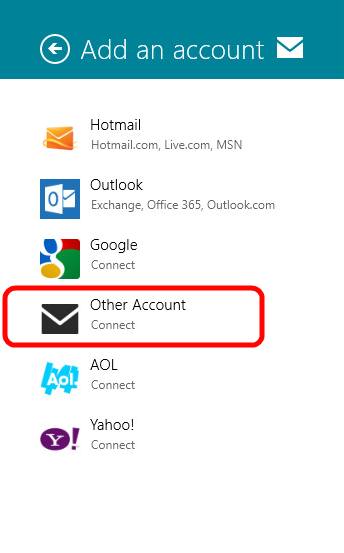
- From here, you will now need to select Other Account to setup your Nex-Tech account.
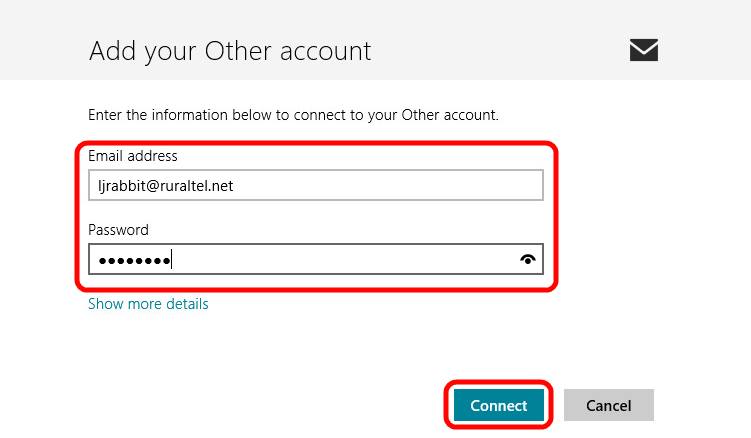
- You will now need to fill out your full e-mail address, password, and then click on Connect.
- Now we will need to fill out the account settings to be able to connect. You will need to fill out your username with the full e-mail address, password, Incoming and Outgoing mail servers. You will then need to uncheck Incoming and Outgoing server requires SSL, this will change the default Port Settings to the correct ports. The port numbers should default to Incoming 143 and Outgoing 25, which is corrrect. Leave everything else checked and then click on Connect.

- The account setup process is now complete but you will most likely want to change some of the default settings. In Windows 8 Mail the client is defaulted to only show messages that are 2 weeks or newer. If you want to see all messages in your account, please continue with the additional steps.
To begin we will need to go back to the Settings charm on the right hand side as shown below.
- Then we will need to click on Settings.
- Here we will want to select Accounts.
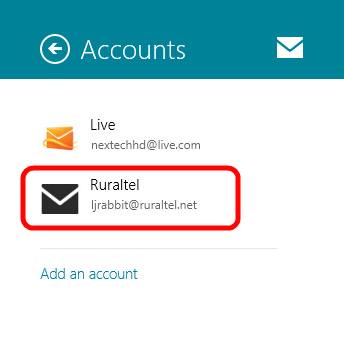
- In Accounts, please select your Nex-Tech account.
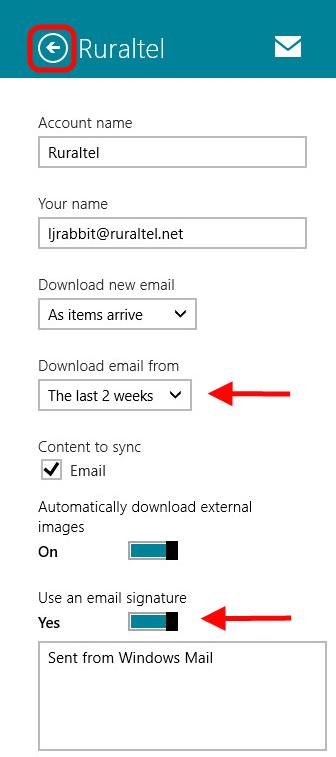
- Here you will see that the Download email from is set to The last 2 weeks, you can change this to Any time to display all email in the account. Also by default Mail also has enabled email signature that will be sent out on the bottom of each email. You can turn this off or edit the signature from here. Once finished, click on the back button or click out on the main screen to close the settings. You are now finished with the setup process.